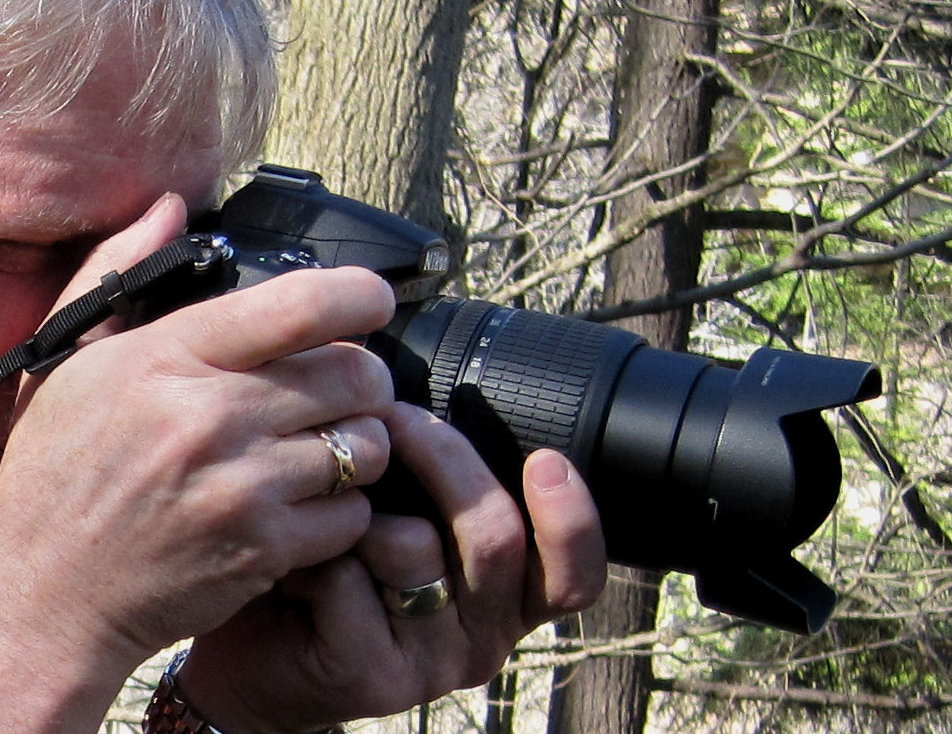
When shooting hand-held, camera shake is your enemy. You should always be conscious of how stable and firm you’re able to keep the camera. Look for ways to keep your camera as still as you possibly can.
- Support the camera/lens with your left hand underneath, palm up, rather than from the side.
- If you’re sitting, plant your elbows against your thighs, or the tabletop, or whatever is available. If you’re standing, keep your elbows down against your body. Don’t have them flapping around. This makes for a much more stable and sturdy platform.
- When standing, make sure your footing is firm, keep your feet apart and your knees slightly bent. Don’t try to be too rigid.
- If there’s a solid object convenient to steady yourself against—a tree, fence, wall, car, table, whatever—take advantage of it, and use it to steady your stance. Pressing your shoulder against a wall or tree will make your stance much more stable. Resting your hands or elbows on a flat, firm surface can be a little like using a tripod. Many times, there won’t be anything available to provide that firm, stable base, but when there is, use it.
- Use the viewfinder, rather than the camera’s LCD screen, whenever possible. Pressing the camera gently against your face gives you another point of stability. Holding the camera out away from your face so you can see the LCD makes for a much less stable grip. There are some situations when you have to use the LCD screen rather than the viewfinder, but they’re not very common; use the viewfinder whenever you can.
- As you prepare to shoot, inhale and then slowly exhale while you take your shot. Don’t hold your breath; that actually makes you shakier.
- Relax. Don’t grip the camera too tightly. A death grip only makes camera shake worse, and tires out your muscles. When your hands get cramped, it’s difficult to hold the camera at all, let alone hold it steady. So ease up.
- When not shooting, take advantage of any chance to lower the camera, and rest your hands, flexing your fingers and wrists to give them a break. This also gives a break to the other muscles involved in your shooting stance, in your shoulders, arms, neck, and legs. If you don’t anticipate having a shot for thirty seconds, lower the camera and take a break.
- If you have to lean or bend in order to get the shot, your position will be less stable. Sometimes you have no choice, but get the most steady position you can manage.
- When you need to be down low, kneeling is better than crouching, and sitting is better than kneeling.
- To take your shot, squeeze the shutter button down with an easy, steady pressure. Don’t jab, jerk, or poke at it. Sudden movements will move the camera, and that’s bad.
- Unless you’ve set your camera to use an alternate button for focusing (which I’ll talk about later, in a post on back-button focusing), you’ll need to pause briefly when you press the button halfway down, to give the camera time to focus and meter the exposure. The length of time necessary for the camera to make its metering and focusing adjustments can vary, from nearly instantly to a second or more, so pay attention to what the camera is telling you and wait until it’s ready to fire.
- If you’re shooting in continuous release mode (aka rapid fire), squeeze and hold, without letting the camera move. (Panning is an obvious exception; you will be moving to pan, but in that case, keep your movement smooth in the direction of the pan. A separate, future post will be dedicated to panning technique.)
The overall goal is always to minimize camera motion, in order to get the clearest, sharpest shot possible. Practice your technique, in different situations and stances, paying close attention to how you’re holding the camera, how you’re breathing, and all the other little details described above, and very soon it will become automatic and natural. Your photos will improve just from developing better shooting habits.

