
In simplified terms, your camera’s shutter is like a little door that opens and closes. Closed most of the time, it opens briefly when you snap a picture, to let light coming through the lens fall on the camera’s sensor, which turns the light into electrical signals and captures the picture. I’ll be posting about the sensor later, but here, we’ll look at how shutter speed can affect your photos. Another post will go into greater detail about how the shutter works, and provide a more in-depth look at techniques for using shutter speed effectively.
The shutter speed setting on your camera determines essentially two things about your photo. One is how much light gets in. Shutter speed is one of the three things that determine exposure, or the level of brightness and detail captured in your photo. (The other two settings that determine exposure are aperture and ISO, both of which I deal with in other posts.) You should consider shutter speed, in combination with aperture and ISO, when deciding how much light and detail you need to capture.
But often, you’ll choose your shutter speed specifically to control something else: how motion appears in your photo. Any motion (of your subject or camera) while the shutter is open will cause blurring in your image. Sometimes that’s an effect you want. More often, though, it’s something you want to avoid. To freeze motion, you need a shutter speed fast enough so that the movement isn’t perceptible for the time the shutter is open. How fast that is depends on how fast the motion is. That includes motion of the subject you’re shooting, but can also include motion of the camera. If you’re hand-holding the camera, it won’t be completely still, no matter how good your shooting technique, so you’ll want a shutter speed that will eliminate the effect of any shake or jitter.
If you want to freeze action on a sports field, for example, such as a shortstop running to snag a hot grounder, you’ll need a pretty fast shutter speed (perhaps 1/800″ or faster). To freeze the motion of a race car, or a jet plane at an air show, you’ll need an even faster speed. A duck paddling slowly in a pond isn’t going to be moving as fast, so you might get by with a somewhat slower speed. How to determine the speed required is a bit of an art, and takes a little practice and experience. If you really want to be sure of freezing motion, choose the fastest shutter speed that will allow you to get a good exposure when combined with the aperture and ISO settings you have already selected.
How fast? That depends on the light, how fast your subject is moving, the lens and focal length, and how steady the camera is. To minimize the effects of camera shake (caused by your own movement), the general rule of thumb is that you select a shutter speed using what’s called the Reciprocal Rule. This just means that you take the focal length (f) of the lens you’re using, and make your shutter speed at least 1/f”. (Throughout this site, I use a standard notation convention of the double-quote mark (“) to indicate shutter speed seconds: 1/100″ means 1/100 seconds.) So if your lens is at 60mm, you’ll want a shutter speed of at least 1/60”. Note that this is a rule of thumb, which means it’s really only a general guideline. Many modern lenses have a feature called image stabilization, which can electronically compensate for a certain amount of camera shake, so you might be able to get by with a slower shutter speed. And shooting hand-held is different if you, or the camera, are actually braced firmly against something solid, like a tree or fence or wall, rather than just free standing; being solidly braced can really cut down on camera shake, potentially allowing a slower shutter speed. Also, the lighting conditions can play a part: a shot you can successfully hand hold at 1/60″ in bright sunlight might not work so well if the light is poor, even if you compensate by opening the aperture up and increasing the ISO.
For me, shooting hand-held and free standing, even with a shorter, more wide-angle focal length (such as 24mm) in good light, shutter speeds much below 1/60″ are problematic if the lens doesn’t have image stabilization. At 105mm, without panning, shooting any slower than 1/125″ is iffy, for me. You might have slightly steadier hands. Only experience will let you know what kind of shutter speeds you can get away with. Like many other aspects of photography, you will need to experiment, practice, and get a feel for how fast your shutter needs to be for different kinds of shot, under different conditions.
I’ll delve more deeply into the shutter, and choosing shutter speed, in a later post. What’s important at first is that you understand that your choice of shutter speed controls how well you can freeze motion in your shots.
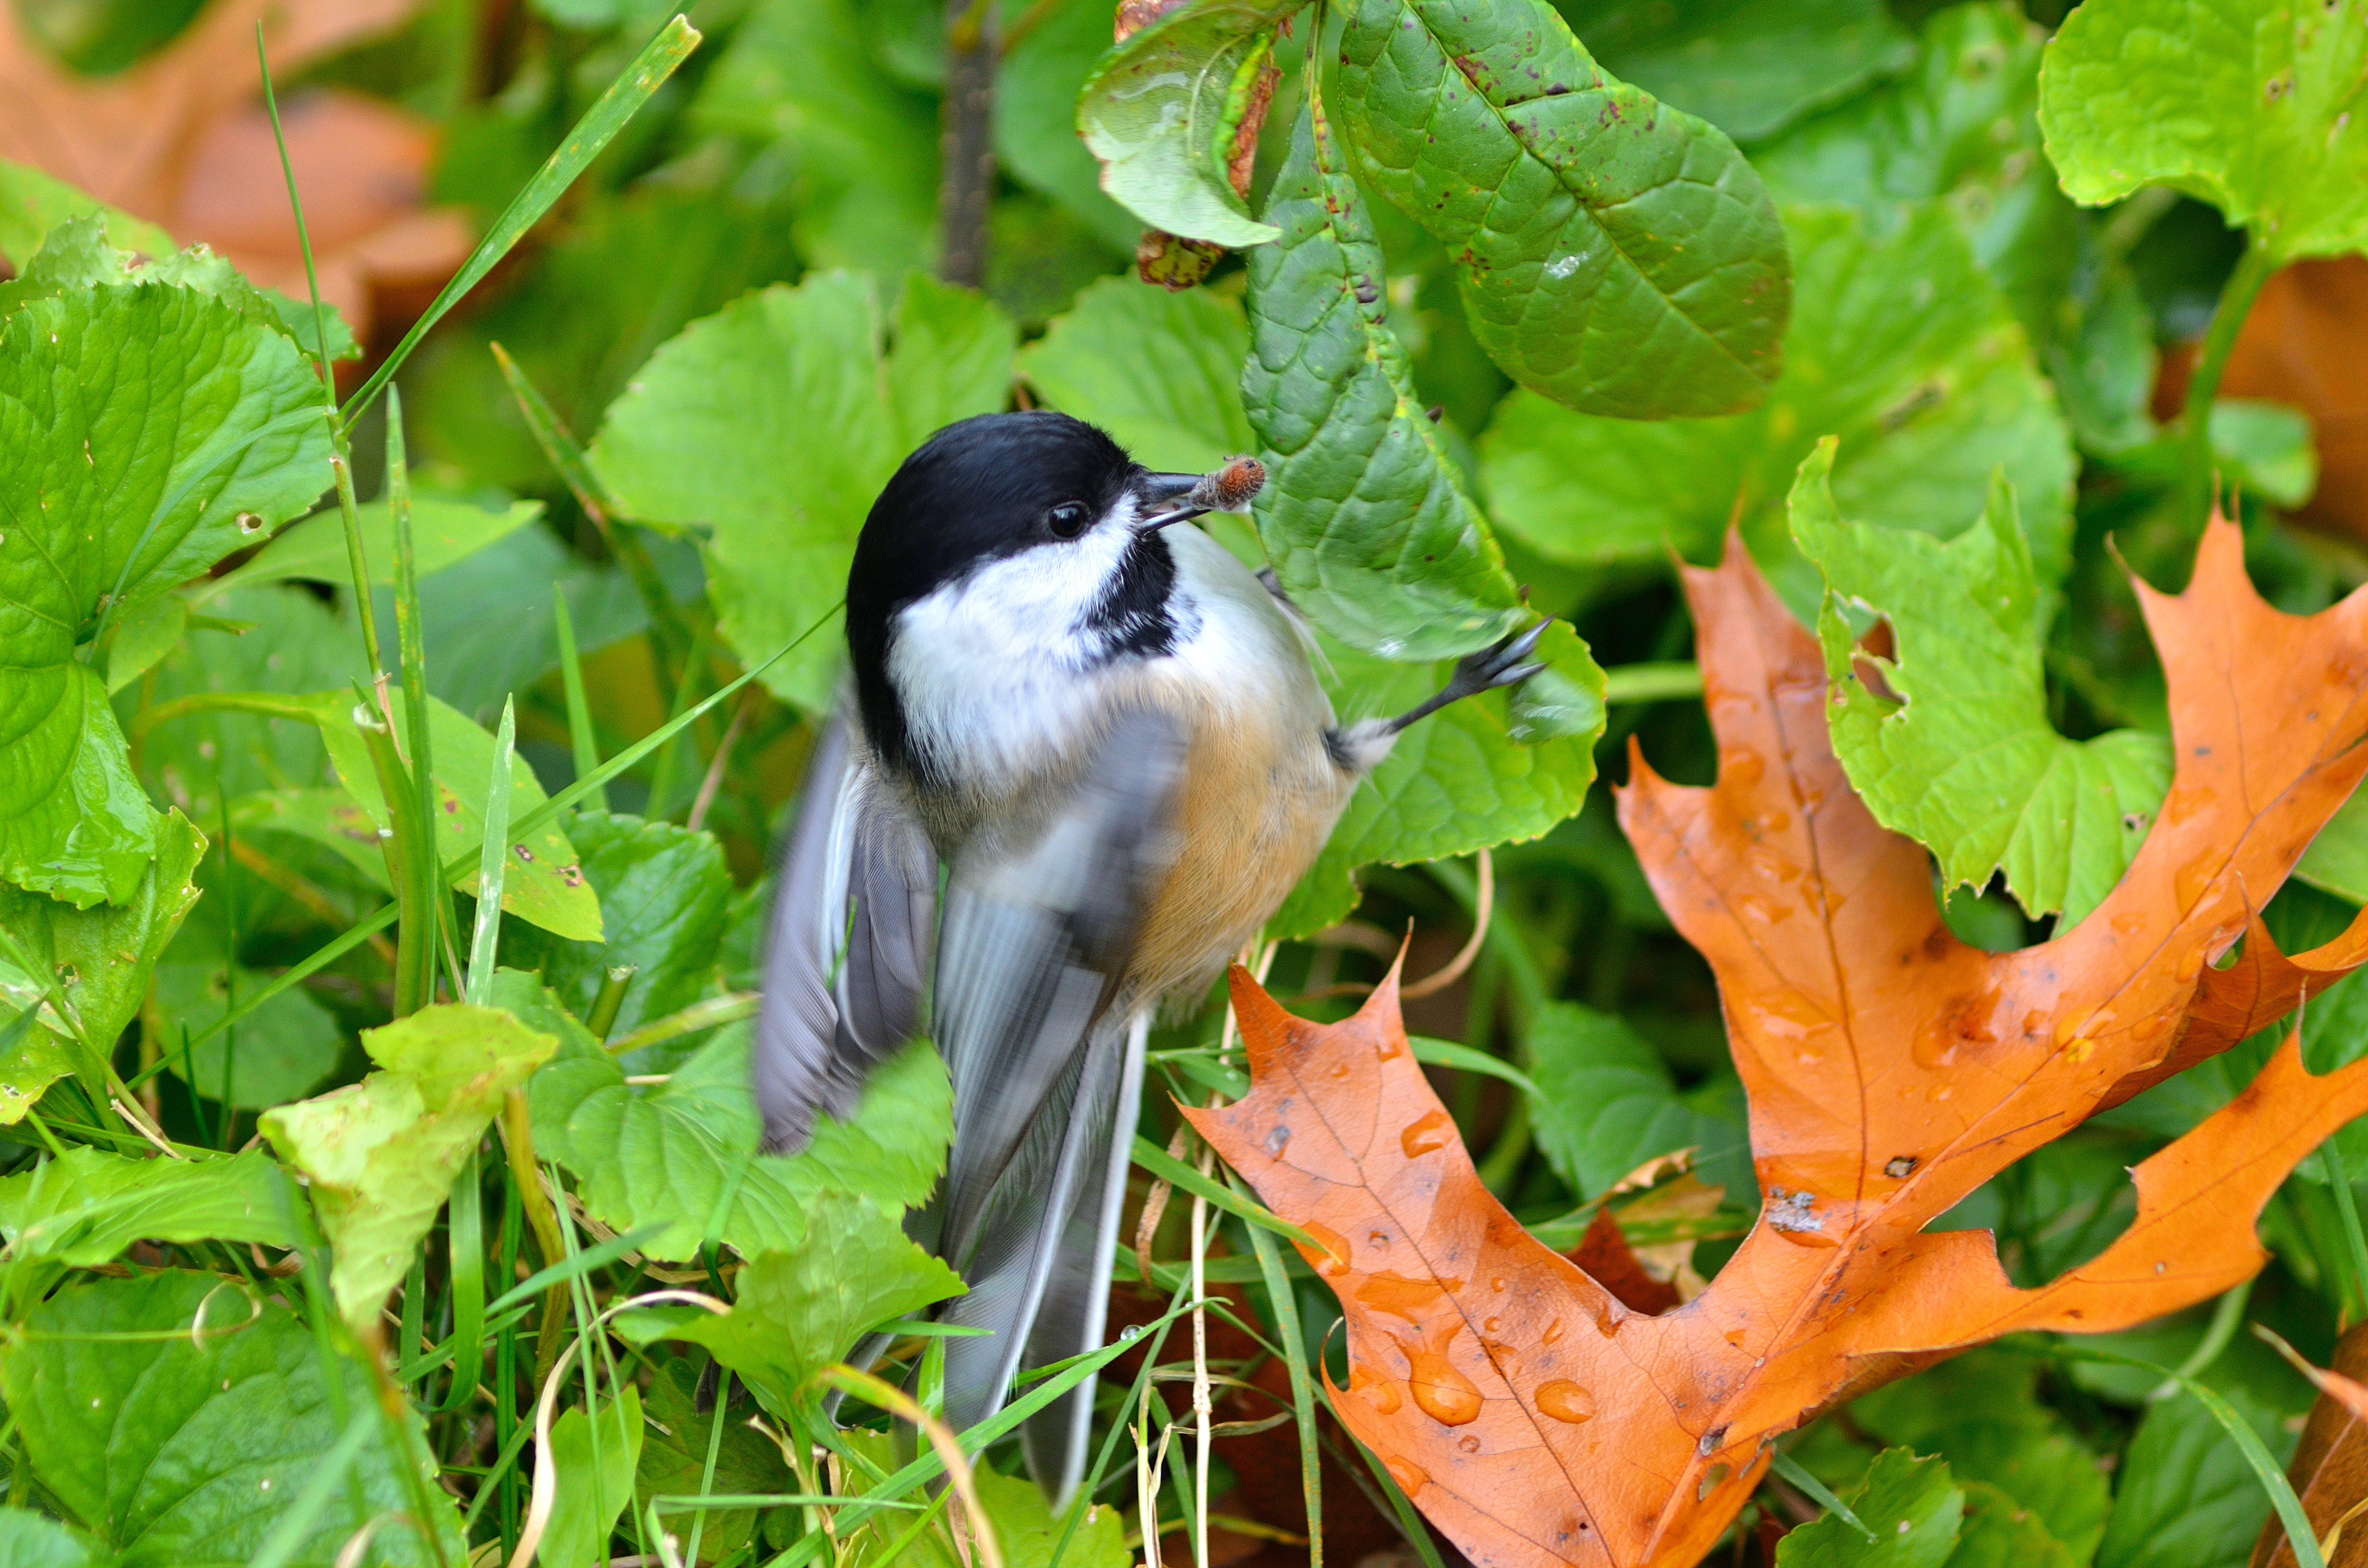
I caught this little chickadee snagging a bug lunch in mid-flight. On a drizzly, overcast day, I was using a zoom lens at 175mm in shutter priority mode, with a speed of 1/200″ @ f/5.3 and ISO 250. You can see that the bird’s wings are a blur, which isn’t a bad thing, as it shows clearly that it was in flight. In that sense, blur can be used intentionally to show motion. However, the rest of the bird, though pretty well focused, is not completely sharp. If a situation like this came up again, I would probably kick the shutter speed up a little faster (and let the ISO go up as well).

Here, on a clear morning with good light, I was shooting this kaffeeklatsch of tree swallows in manual mode. With my zoom lens at 360mm I’d chosen an aperture of f/8, and a shutter speed of 1/1000″, to freeze almost completely the birds’ motion, leaving only a hint of blur in the wings of the bird that is landing.